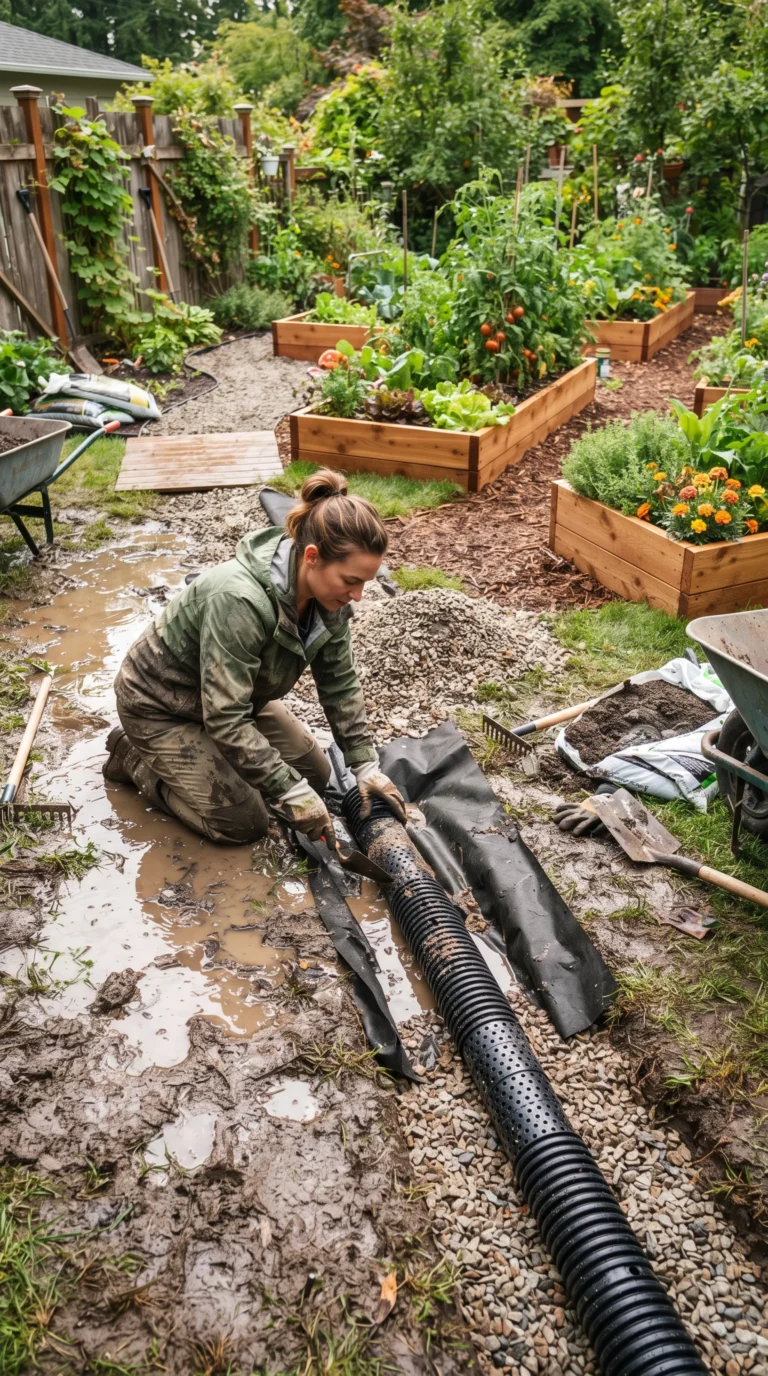
How to Start a No-Till Raised Bed Garden: The 2026 Beginner’s Guide
Want to grow fresh vegetables without digging, double-digging, or turning your soil every season? A no-till raised bed garden could be the perfect solution.
No-till gardening focuses on minimizing soil disturbance while adding organic matter to the surface. Instead of repeatedly digging the soil, you build fertility from the top down with compost, mulch, plant residues, and healthy roots.
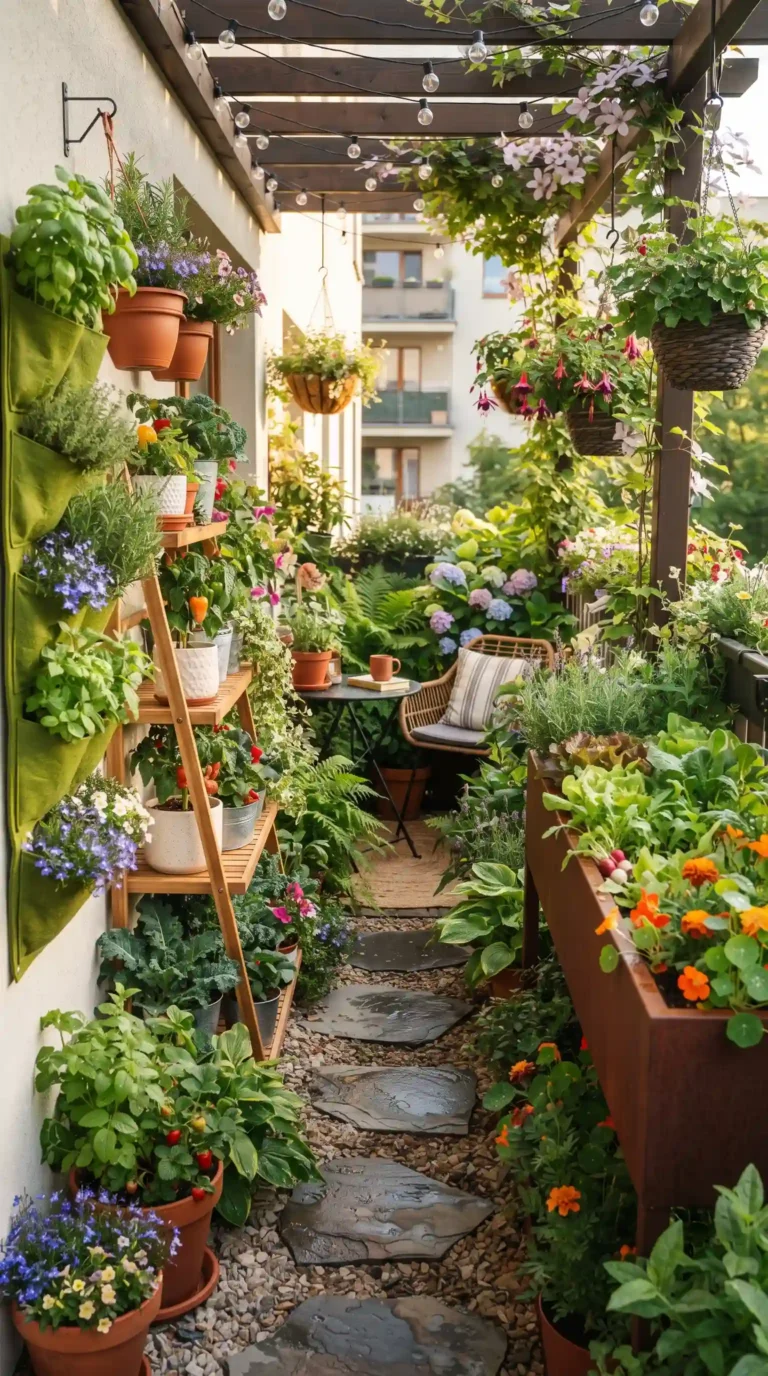
Raised beds make the process even easier by giving you a defined growing space that can be designed around your available yard, patio, or garden area.
For beginners, the combination of no-till gardening and raised beds offers a practical way to grow vegetables while spending less time preparing soil. Here’s how to get started in 2026.
What Is a No-Till Raised Bed Garden?
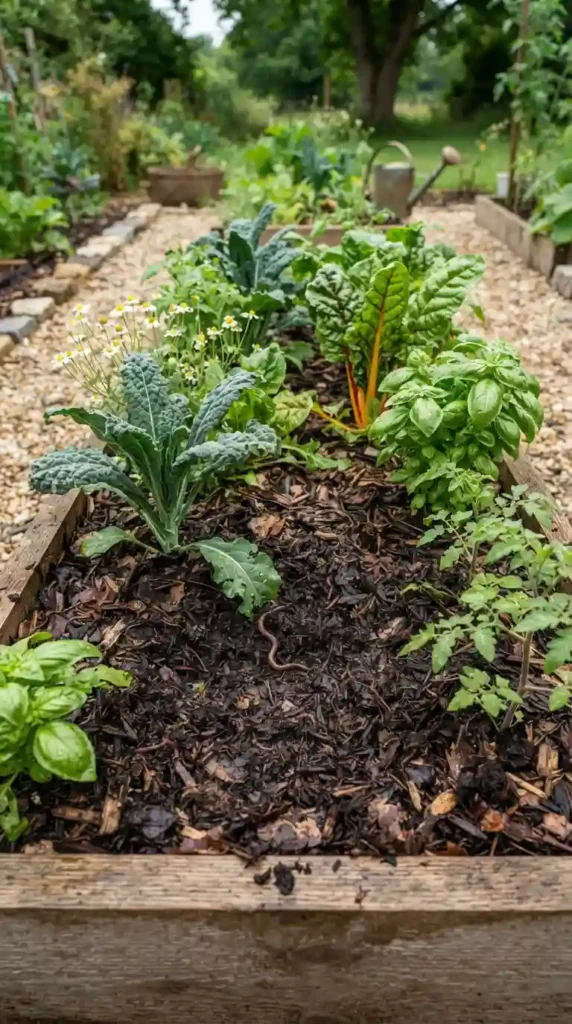
A no-till raised bed is a growing area where the soil is not regularly turned or mechanically cultivated.
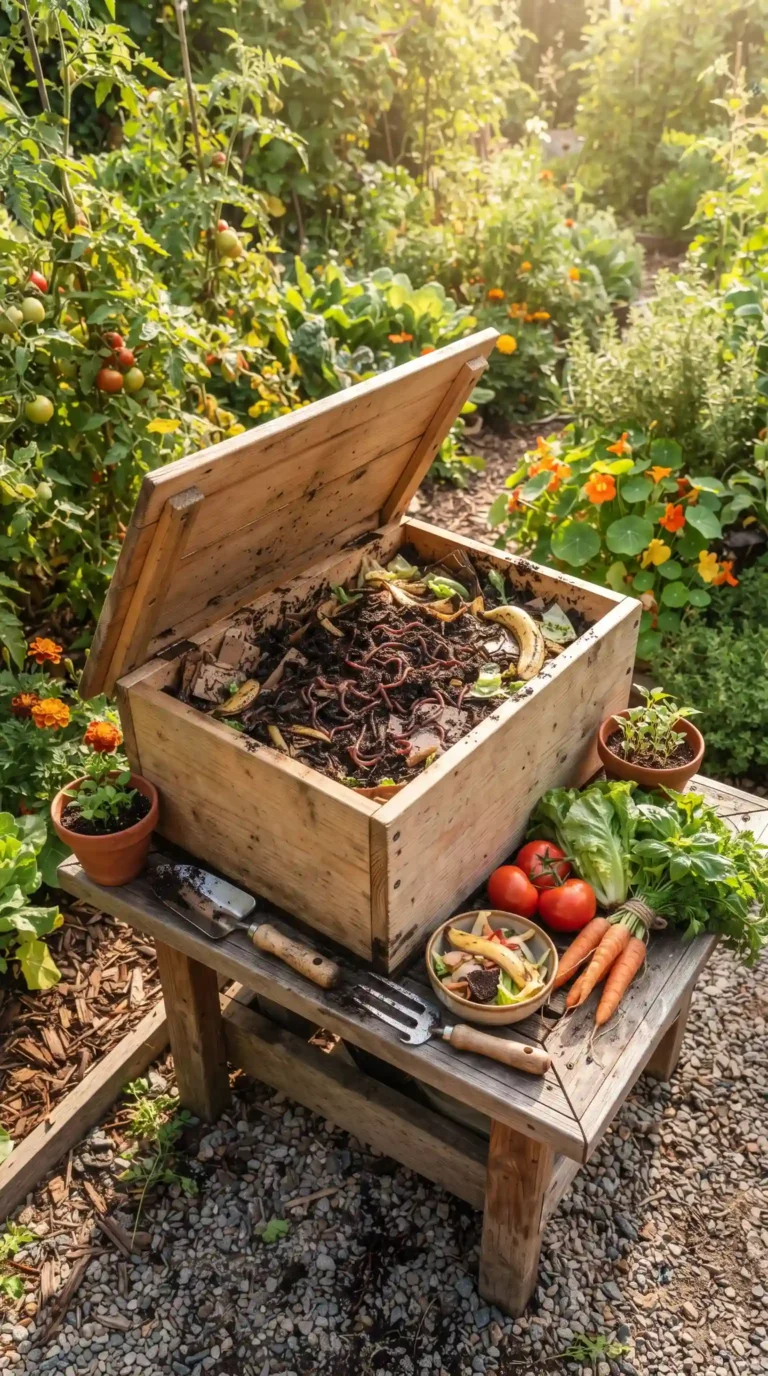
Instead of digging into the existing soil each season, gardeners add compost and organic materials to the surface. Plant roots, microorganisms, earthworms, and natural decomposition gradually improve the growing environment.
The University of Vermont describes no-till raised-bed gardening as an approach in which soil structure remains intact rather than being tilled or turned over.
This approach can help preserve soil aggregates and reduce disturbance to organisms living in the soil. Penn State Extension also recommends minimizing soil disturbance as part of maintaining healthy raised-bed soil.
Why Choose No-Till Gardening?
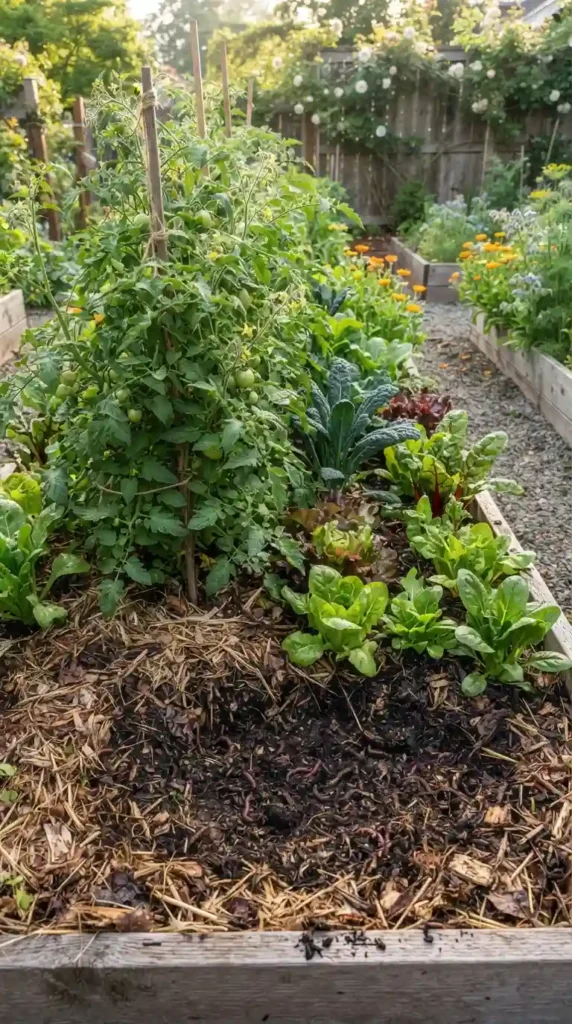
There are several reasons gardeners are moving toward no-till methods.
Less Digging
You don’t need to turn over the entire bed every season.
Better Soil Structure
Minimizing disturbance helps preserve soil aggregates and the spaces that allow air and water to move through the soil.
Fewer Weed Problems
When you avoid turning the soil, you can reduce the number of dormant weed seeds brought to the surface.
More Organic Matter
Adding compost, plant residues, mulch, and other organic materials gradually contributes to soil organic matter.
Easier Maintenance
Once your bed is established, annual preparation can be as simple as adding compost, planting, mulching, and managing weeds.
Step 1: Choose the Right Location
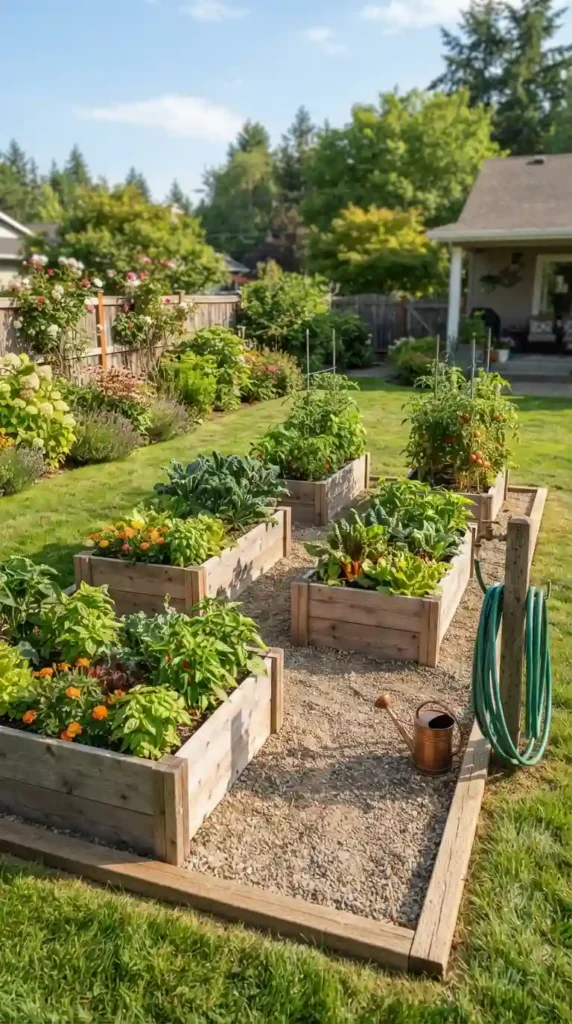
Start by choosing a suitable location for your raised bed.
Most vegetables need plenty of sunlight, so select an area that receives several hours of direct sunlight each day.
Also consider:
- Drainage
- Accessibility
- Water availability
- Proximity to your home
- Protection from strong winds
- Space around the bed
A level location with good drainage is generally a good starting point for a raised bed.
Don’t make your first garden unnecessarily large. A small, manageable bed is easier to maintain while you’re learning.
Step 2: Decide on the Raised Bed Design
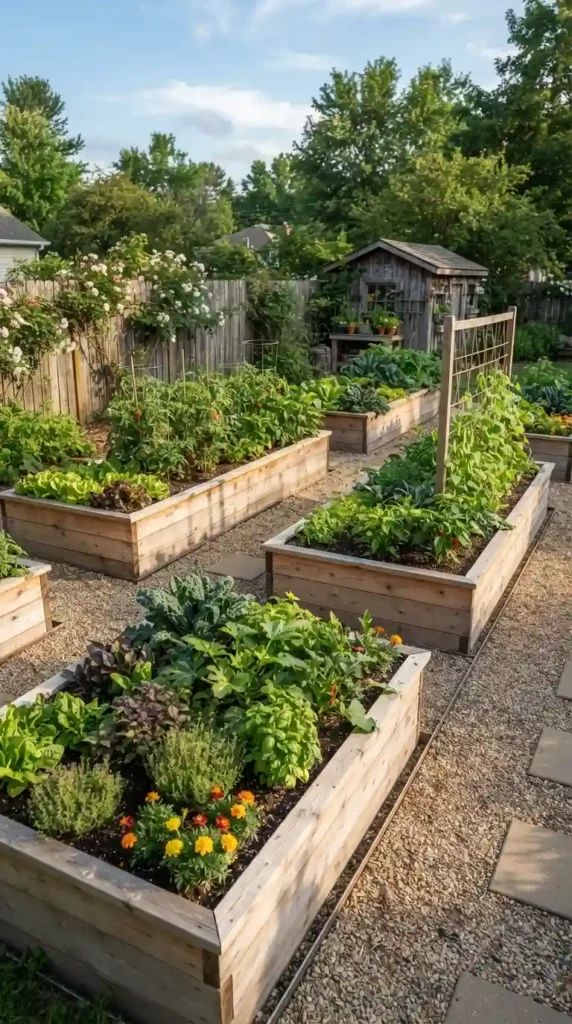
You can build a raised bed using wood, metal, stone, or other suitable materials.
You don’t necessarily need a tall box. Raised beds can also be created as unframed mounds of soil and compost.
If you want a framed bed, choose untreated materials suitable for outdoor use and make sure the structure is stable.
A common beginner-friendly size is approximately 4 feet wide, because you can usually reach the center from either side without stepping into the bed.
Keep the length manageable for your available space.
Step 3: Prepare the Ground Without Tilling
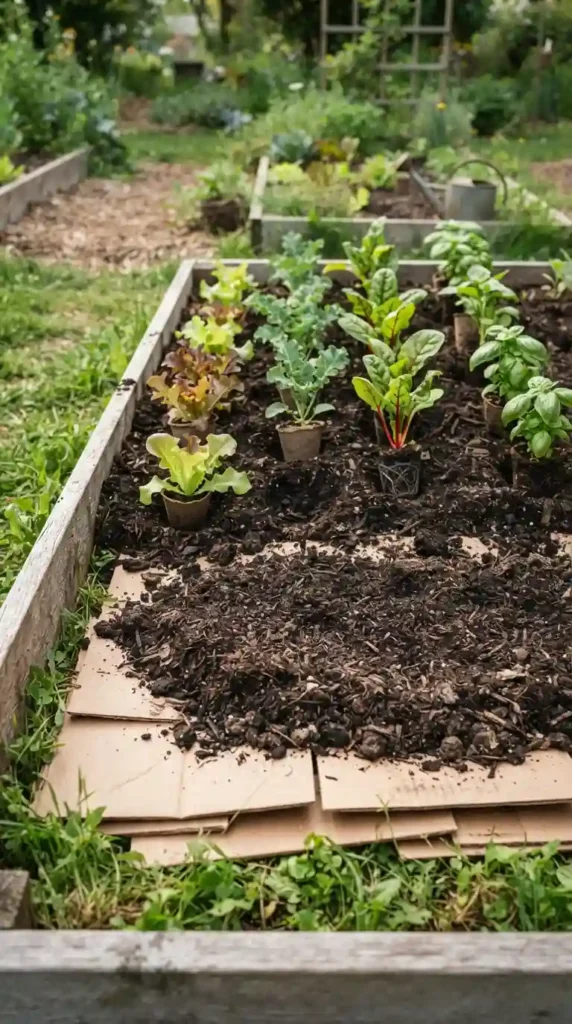
If you’re building over grass or weeds, you don’t need to dig everything out.
First, cut existing vegetation as close to the ground as practical.
Then cover the area with plain, unwaxed cardboard with tape, labels, and plastic removed.
Cardboard can help smother existing vegetation while it decomposes. University of Maryland Extension recommends using cardboard or overlapping newspaper to suppress turf and weeds when establishing raised beds.
You can also start the process in fall or early spring and allow the vegetation to break down before planting.
Step 4: Add Compost and Growing Material
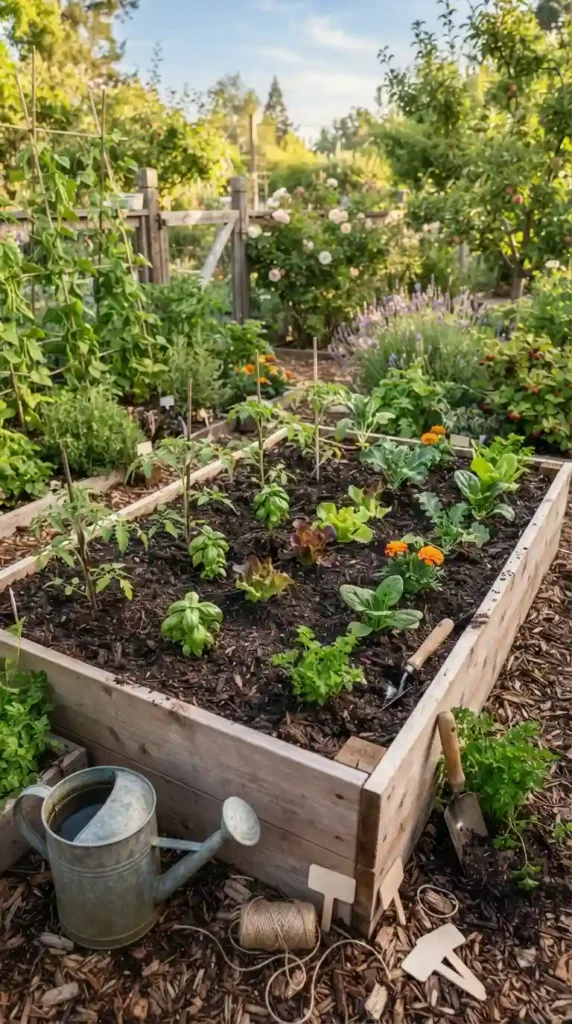
Once your ground is covered, add your growing material.
For a new raised bed, use quality soil combined with finished compost rather than relying on a huge quantity of pure compost.
Penn State Extension recommends a soil-dominant raised-bed mix, with one example being approximately 70% soil and 30% compost.
The exact mix can depend on the quality and texture of the materials available in your area.
Avoid buying soil simply because it is labeled “raised bed soil.” Check what it actually contains.
Use clean, reputable compost and soil, particularly when growing food.
Step 5: Don’t Create Unnecessary Layers
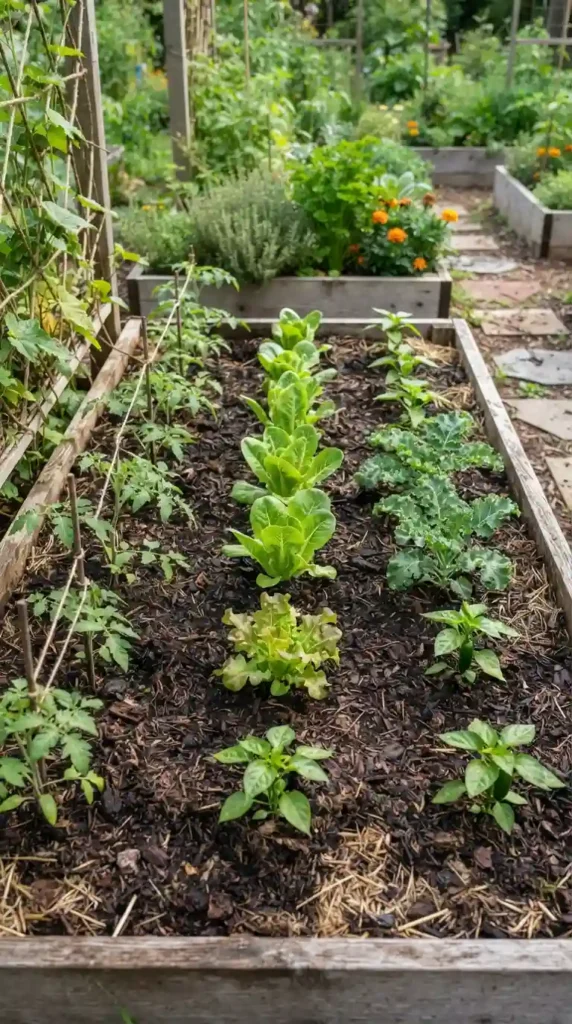
One common beginner mistake is filling the bottom of a raised bed with large quantities of rocks, gravel, or other materials.
A raised bed should primarily provide useful growing space for plant roots.
If you’re building directly on soil, plants can often root into the ground beneath the raised bed.
University of Maryland Extension recommends a no-dig approach in suitable situations, allowing plant roots to grow through decomposing vegetation into the underlying soil.
If you’re building on concrete or another impermeable surface, the design is different. The bed needs sufficient depth and appropriate drainage because plants cannot access the soil below.
Step 6: Let the Bed Settle When Practical
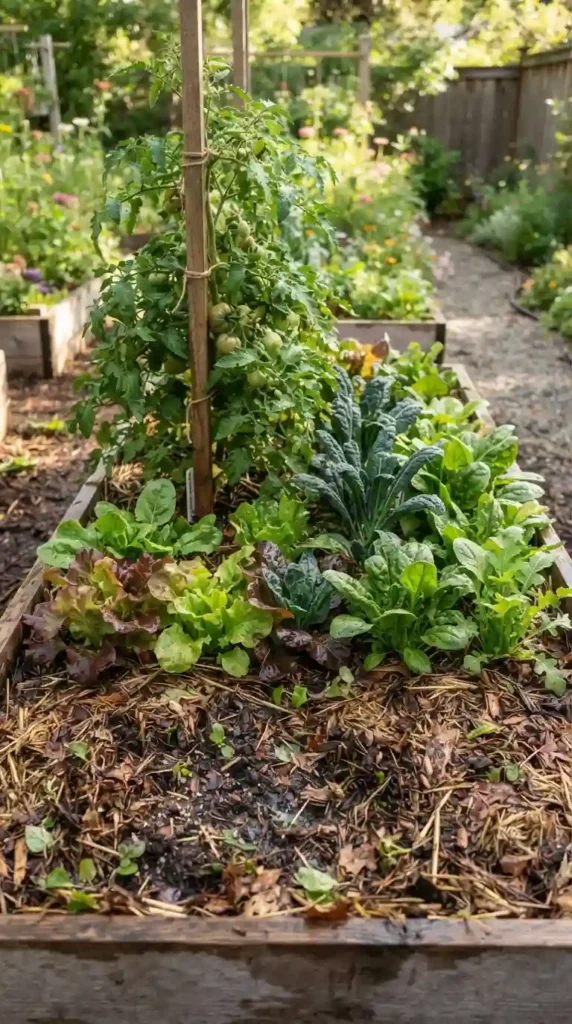
If you’ve created your bed well before planting season, give the materials time to settle.
The cardboard, vegetation, and organic material underneath will gradually decompose.
If the bed settles significantly, add more quality soil and compost rather than disturbing the underlying layers.
Step 7: Plant Without Digging Up the Bed
Now comes the fun part: planting.
For transplants, create a planting hole just large enough for the root ball.
For seeds, make a shallow planting furrow according to the seed packet instructions.
You don’t need to turn the entire bed before planting.
University of Vermont’s no-till raised-bed method recommends adding approximately 1–2 inches of compost to the surface and planting directly into that layer.
Step 8: Add a Protective Mulch Layer
After planting, add an appropriate layer of mulch around your crops.
Possible materials include:
- Straw
- Shredded leaves
- Grass clippings
- Compost
- Fine wood-based mulch where appropriate
Mulch can help protect exposed soil, conserve moisture, and suppress weeds.
Avoid piling mulch directly against plant stems.
Step 9: Water Your New Garden
A newly established raised bed needs consistent moisture while plants develop roots.
Raised beds can dry out faster than surrounding ground, so check the soil regularly.
Drip irrigation or soaker-style systems can make watering easier, particularly during hot weather.
Don’t rely only on a fixed watering schedule. Check actual soil moisture and adjust according to temperature, rainfall, plant growth, and local conditions.
Step 10: Maintain the Bed Without Tilling
Once the growing season ends, resist the urge to dig everything over.
Instead:
- Cut healthy plants at soil level.
- Leave roots in the soil.
- Remove diseased plant material.
- Add compost to the surface.
- Add mulch or a suitable cover crop.
- Plant the next crop without turning the soil.
University of Vermont recommends cutting back healthy plants rather than pulling their roots and returning disease-free plant material to the soil surface to decompose.
This approach keeps roots and organic matter in the soil while minimizing disturbance.
What Should You Grow in a No-Till Raised Bed?
Beginners can start with relatively straightforward crops such as:
- Lettuce
- Radishes
- Carrots
- Beans
- Cucumbers
- Peppers
- Tomatoes
- Kale
- Spinach
- Herbs
Choose plants based on your growing season and climate.
Tall crops such as tomatoes and climbing cucumbers should be positioned where they won’t shade smaller plants unnecessarily.
Common No-Till Gardening Mistakes
Starting Too Large
A huge garden can quickly become overwhelming. Start small and expand when you’re comfortable.
Using Too Much Compost
More compost isn’t automatically better. Excessive organic amendments can create nutrient and moisture-management problems.
Walking on the Bed
Foot traffic can compact the soil. Design paths around the bed so you can reach plants without stepping into the growing area.
Disturbing the Soil Every Season
Constant digging defeats the basic purpose of no-till gardening.
Ignoring Soil Testing
A soil test can help identify nutrient and pH issues before you start adding amendments. Extension guidance recommends testing soil when establishing raised beds, especially when growing food.
No-Till Raised Bed vs. Traditional Raised Bed
The biggest difference is how you manage the soil.
A traditional raised bed may be dug or mixed during preparation. A no-till raised bed relies more heavily on surface applications of compost and mulch while keeping the soil structure intact.
Both approaches can produce excellent crops.
The best method is the one that fits your garden, soil conditions, available materials, and gardening goals.
Final Thoughts
Learning how to start a no-till raised bed garden is much easier than it may initially seem.
Choose a sunny location, build a manageable bed, suppress existing vegetation with appropriate materials, add quality soil and compost, and start planting without turning the soil.
From there, focus on keeping the soil covered, minimizing disturbance, maintaining moisture, and adding compost from the surface.
No-till gardening isn’t about doing nothing. It’s about changing how you care for the soil. Instead of repeatedly digging and rebuilding the growing environment, you allow roots, organic matter, microorganisms, and time to do much of the work.
For beginners in 2026, a small no-till raised bed can be an excellent starting point for growing vegetables while building healthier, more resilient garden soil.