Vermicomposting for Beginners: Turn Kitchen Scraps Into Garden Gold
What if your everyday kitchen scraps could become a valuable resource for your garden? Instead of throwing vegetable peels, fruit scraps, and other organic waste into the trash, you can turn them into rich, natural compost with vermicomposting.
Vermicomposting is a simple process that uses special composting worms to break down organic materials and produce nutrient-rich worm castings. For beginners, it is an affordable and practical way to reduce food waste while creating a useful soil amendment for plants.
Whether you have a backyard garden, balcony, or a few houseplants, learning how to start vermicomposting can be surprisingly easy.
What Is Vermicomposting?
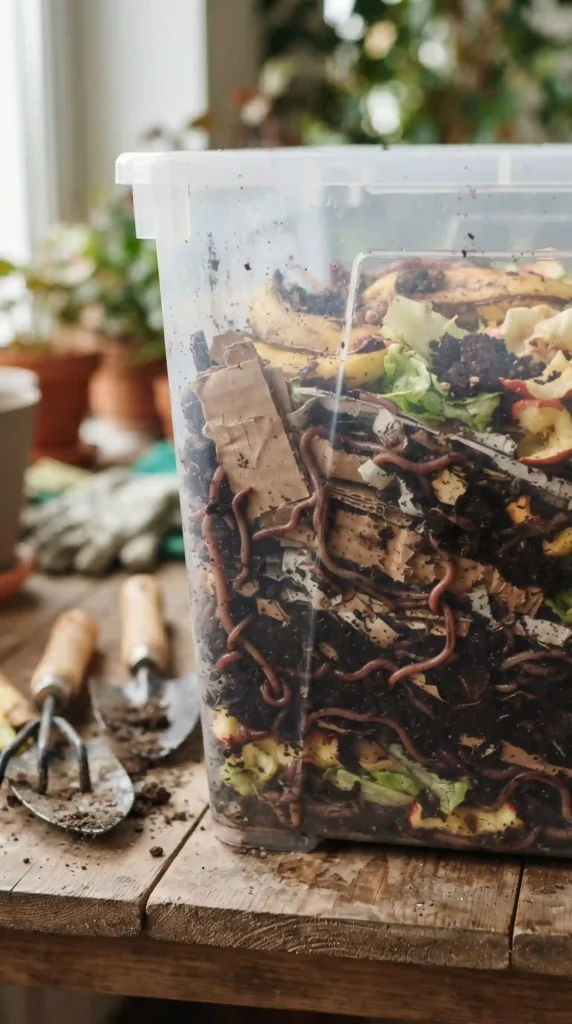
Vermicomposting is a form of composting that uses earthworms to help decompose organic material.
The worms consume suitable food scraps and bedding materials. As the material passes through their digestive systems, it is transformed into nutrient-rich castings, often called worm compost or vermicompost.
These castings can be mixed into garden soil or used around plants to improve soil quality.
Unlike traditional composting, vermicomposting can work well in relatively small containers, making it especially useful for people who live in apartments or have limited outdoor space.
Why Try Vermicomposting?
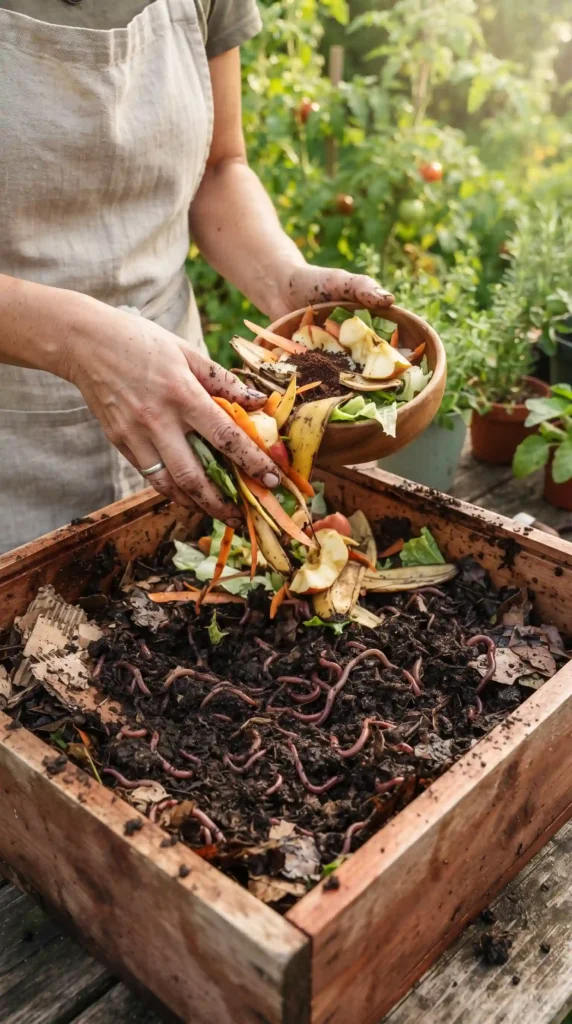
There are several reasons vermicomposting has become popular among home gardeners.
1. Reduce Kitchen Waste
Fruit and vegetable scraps make up a significant portion of household organic waste. Instead of sending suitable scraps to the trash, you can recycle them through a worm bin.
2. Create Nutrient-Rich Compost
Worm castings contain nutrients and organic matter that can help support healthy plant growth when used appropriately.
3. Improve Soil
Vermicompost can add organic matter to soil and contribute to better soil structure and moisture management.
4. Save Space
A worm bin does not require a large backyard. A properly maintained container can fit in a garage, shed, balcony, or other suitable location.
5. Build a More Sustainable Garden
Vermicomposting turns a household waste stream into something useful for your garden, creating a simple recycling loop.
What Do You Need to Start Vermicomposting?
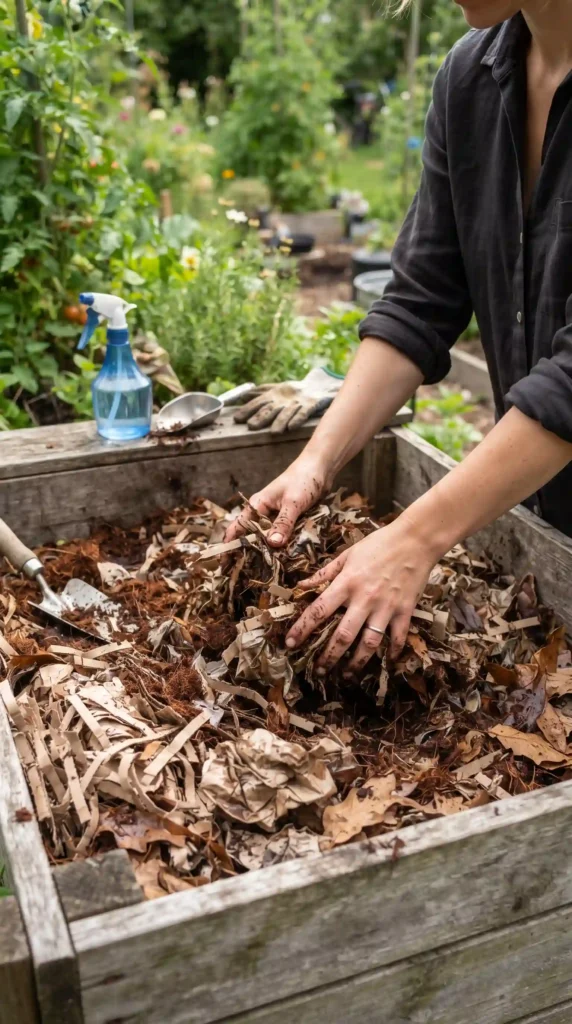
Getting started does not require expensive equipment.
You generally need:
- A ventilated worm bin
- Suitable composting worms
- Bedding material
- Food scraps
- Moisture
- A suitable location
The most commonly recommended composting worms include red wigglers (Eisenia fetida) and related composting species. Ordinary garden earthworms are not necessarily suitable for living in a worm bin.
Step 1: Choose the Right Worm Bin
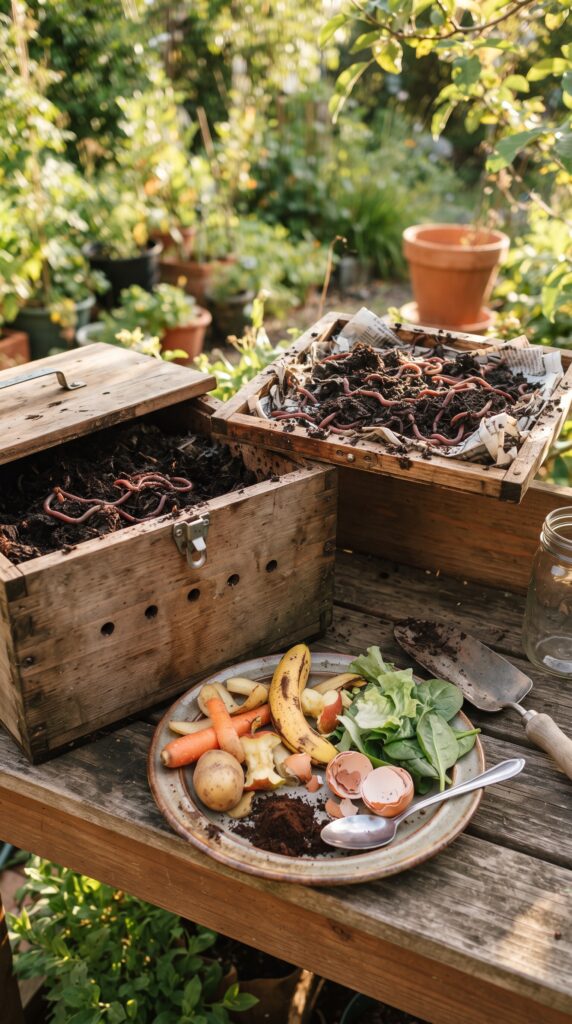
Your first step is choosing a suitable container.
A worm bin should provide adequate ventilation and drainage while preventing worms from escaping. You can purchase a commercial worm bin or create a simple DIY setup using an appropriate food-safe container.
Avoid making the bin completely airtight. Worms and the microorganisms involved in decomposition need oxygen.
The container should also protect the worms from extreme temperatures, excessive sunlight, and heavy rain.
Step 2: Prepare the Bedding
Bedding creates a comfortable environment where worms can live and process food scraps.
Suitable bedding materials can include:
- Shredded cardboard
- Plain, non-glossy paper
- Coconut coir
- Aged compost
- Other appropriate organic bedding
Moisten the bedding until it feels like a wrung-out sponge. It should be damp but not soaking wet.
If water collects at the bottom of the bin, drainage or moisture management may need improvement.
Step 3: Add Your Composting Worms
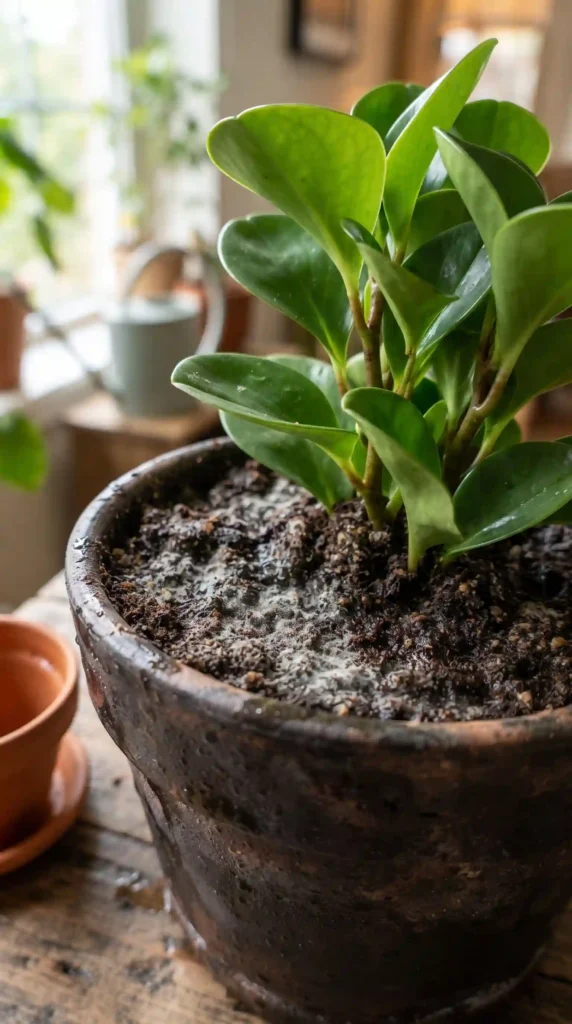
Once the bedding is ready, gently add your composting worms.
Give them some time to settle into their new environment before adding large quantities of food.
A healthy worm bin should have a mild, earthy smell. Strong foul odors usually indicate that something is out of balance.
Step 4: Add Kitchen Scraps Carefully
This is where beginners sometimes make mistakes.
Do not simply fill the bin with every piece of food waste from your kitchen. Worms need suitable food and a balanced environment.
Good options generally include:
- Vegetable scraps
- Fruit scraps
- Coffee grounds
- Used tea leaves
- Small amounts of crushed eggshell
- Soft plant material
Cut larger scraps into smaller pieces. Smaller pieces break down more easily and can be processed faster.
What Should You Avoid Putting in a Worm Bin?
Some foods can create problems with odors, pests, acidity, or decomposition.
For beginners, avoid or strictly limit:
- Meat
- Fish
- Dairy products
- Oily foods
- Greasy leftovers
- Large quantities of citrus
- Heavily processed foods
- Pet waste
A simple rule is to focus primarily on plant-based kitchen scraps.
Step 5: Maintain the Right Moisture
Moisture is essential for a healthy worm bin.
If the bedding becomes too dry, worms can struggle. If it becomes waterlogged, oxygen levels can fall and unpleasant odors may develop.
Check the bedding regularly. If it feels dry, add a small amount of water. If it is excessively wet, add dry shredded cardboard or another suitable bedding material and improve drainage.
The goal is a consistently moist but not saturated environment.
Step 6: Don’t Overfeed Your Worms
One of the biggest beginner mistakes is adding too much food.
Worms and microorganisms need time to process kitchen scraps. If you continually add more food than the system can handle, uneaten scraps can accumulate and attract unwanted pests.
Start with small quantities and observe how quickly the food disappears.
As your worm population and experience increase, you can gradually adjust the amount you add.
How Long Does Vermicomposting Take?
The time required depends on factors such as temperature, moisture, worm population, food size, bedding, and how much material you add.
Under suitable conditions, a worm bin can gradually produce finished vermicompost over a period of several months.
Don’t rush the process. A healthy worm bin is more important than producing compost as quickly as possible.
How to Harvest Vermicompost
When much of the bedding and food has been transformed into a dark, crumbly material, you can harvest the finished vermicompost.
One simple method is to move the contents of the bin to one side and place fresh bedding and food on the empty side. Over time, many worms will migrate toward the new food.
You can then collect finished material from the other side.
Another method is to gently separate worms and unfinished material from the finished compost.
Try to handle the worms carefully and avoid exposing them to extreme sunlight or heat.
How to Use Worm Castings in Your Garden
Worm castings are generally used as a soil amendment, rather than as a complete replacement for soil.
You can mix a modest amount into garden soil before planting or incorporate it around established plants.
Vermicompost can also be used in potting mixes when appropriately blended with other ingredients.
Avoid assuming that more is always better. Start with moderate amounts and observe how your plants respond.
Common Vermicomposting Problems
Bad Smell
A strong unpleasant odor often indicates excess moisture, too much food, poor aeration, or unsuitable food.
Remove problematic material and add dry bedding if necessary.
Fruit Flies
Fruit flies can become a nuisance when exposed food scraps accumulate.
Bury food beneath bedding, avoid overfeeding, and maintain good bin management.
Worms Are Trying to Escape
Worms may try to leave when conditions are unsuitable.
Check moisture, temperature, acidity, food levels, and ventilation.
Too Much Liquid
Excess liquid can indicate overwatering or poor drainage. Add dry bedding and improve airflow and drainage.
Vermicomposting Tips for Beginners
For the best results, remember these simple rules:
- Start small.
- Use the right composting worms.
- Keep bedding moist, not soaked.
- Feed gradually.
- Avoid meat, dairy, and greasy foods.
- Keep the bin ventilated.
- Protect worms from extreme temperatures.
- Monitor odors and moisture regularly.
The more attention you give your worm bin during the first few weeks, the easier it becomes to understand what your worms need.
Final Thoughts
Vermicomposting for beginners does not have to be complicated. With a suitable container, proper bedding, composting worms, and the right kitchen scraps, you can create a small recycling system at home.
The process takes patience, but the result is worth it. Your food scraps can become valuable organic material that you can return to your garden.
Start with a small worm bin, feed your worms gradually, maintain the right moisture, and learn from the changes you see. Before long, you’ll have a simple way to reduce kitchen waste while producing garden-friendly vermicompost.