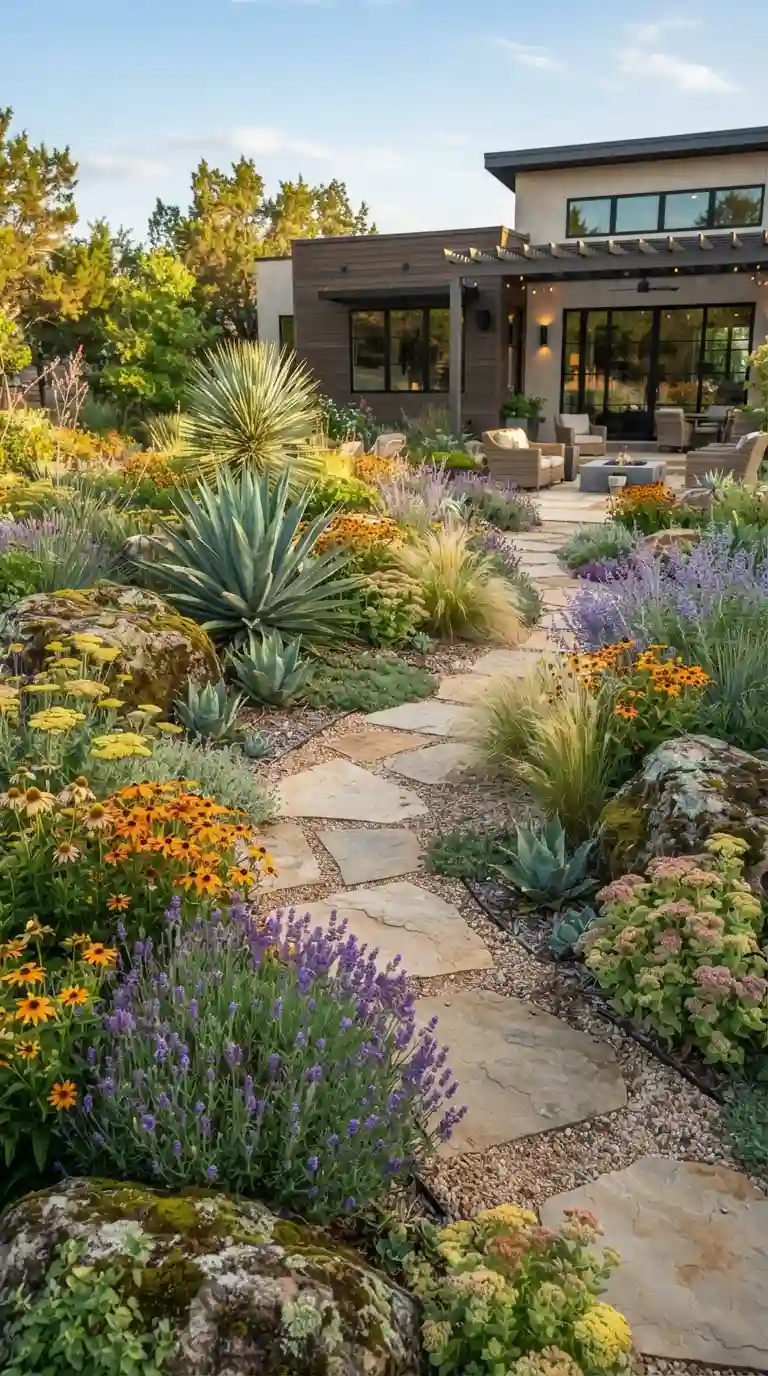
8 Simple Drip Irrigation Systems You Can Build
Keeping plants properly watered can be difficult, especially during hot weather, vacations, or busy weeks. A simple drip irrigation system can make gardening easier by delivering water slowly and directly to the soil around your plants.
Unlike spraying an entire garden with a hose, drip irrigation can reduce water waste by applying moisture close to plant roots. You don’t need an expensive professional installation, either. Many small gardens can use inexpensive materials and straightforward DIY setups.
In this guide, we’ll explore 8 simple drip irrigation systems you can build yourself, from basic bottle solutions to more organized garden-bed systems.
What Is Drip Irrigation?
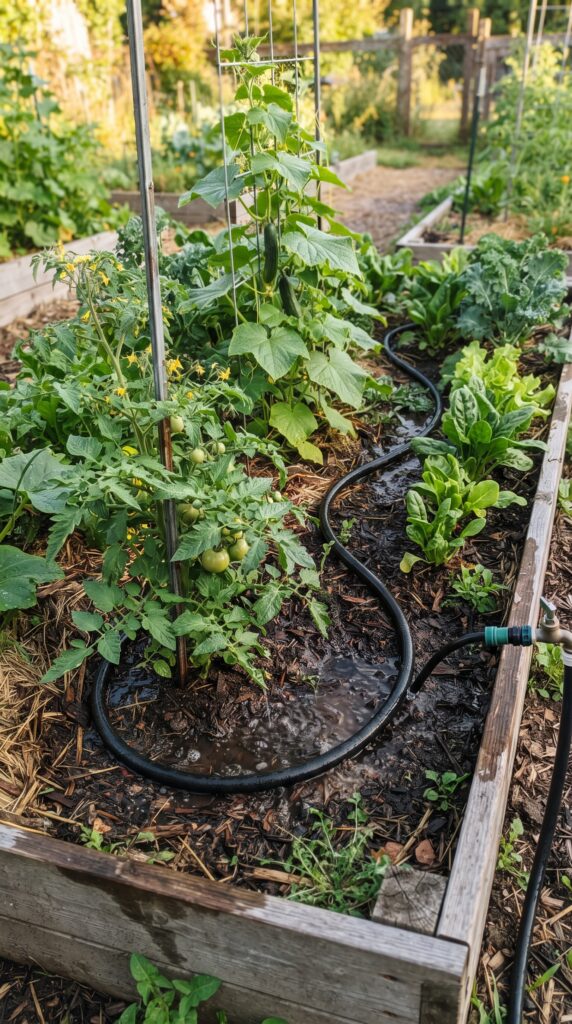
Drip irrigation is a watering method that delivers water gradually near the base of plants.
Instead of soaking an entire area, water is released through small openings, emitters, or tubing.
A basic system usually includes:
- Water source
- Main tubing
- Smaller distribution tubing
- Drip emitters
- Connectors
- Pressure regulation when required
- Filter when appropriate
The exact setup depends on your garden size and water source.
For a few containers, you may only need a bottle. For a large vegetable garden, a tubing network is more practical.
1. Plastic Bottle Drip Irrigation
One of the easiest DIY drip irrigation systems uses a plastic bottle.
What You’ll Need
- Clean plastic bottle
- Needle or small pin
- Water
- Garden soil
Make one or a few very small holes in the bottle cap.
Fill the bottle with water, replace the cap, and carefully place it upside down in the soil near the plant.
Water slowly escapes through the holes.
Best For
- Container plants
- Small vegetable gardens
- Short-term watering
- Vacation watering
The hole size controls the flow rate, so test the bottle before leaving it unattended.
2. Buried Bottle Irrigation
Instead of placing the bottle above the soil, you can create a small underground reservoir.
Use a clean bottle with several small holes around the lower portion.
Bury most of the bottle near the plant while keeping the opening accessible for refilling.
Water gradually moves into the surrounding soil.
This method is useful for containers and individual plants but isn’t ideal for watering a large garden.
3. Soaker Hose System
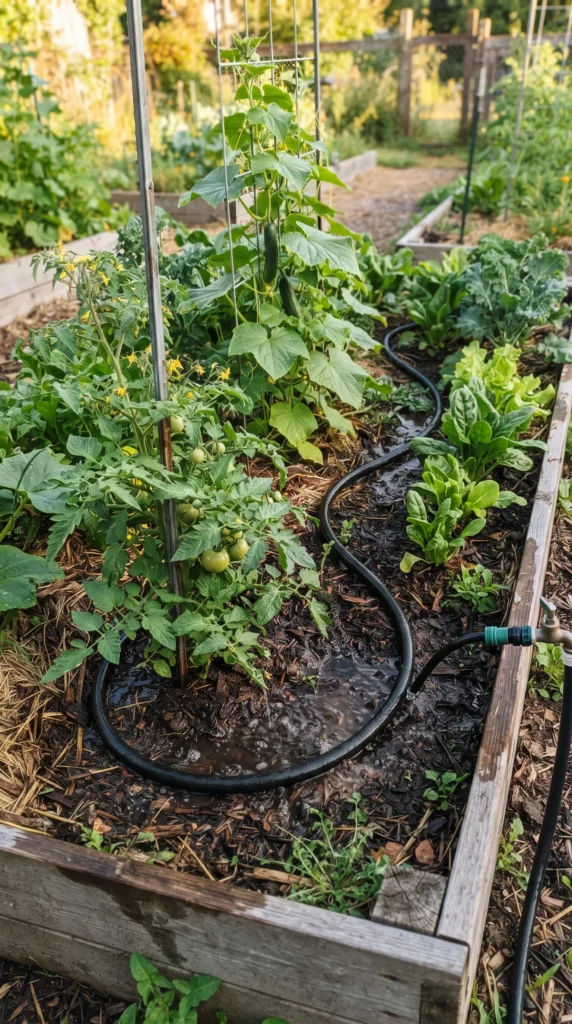
A soaker hose is another simple option for garden beds.
Lay the porous hose along rows of plants and connect it to a suitable water source.
When water flows through the hose, moisture gradually moves into the surrounding soil.
Advantages
- Easy to install
- Minimal components
- Good for garden beds
- Covers multiple plants
Position the hose carefully so water reaches the plants rather than unnecessary areas.
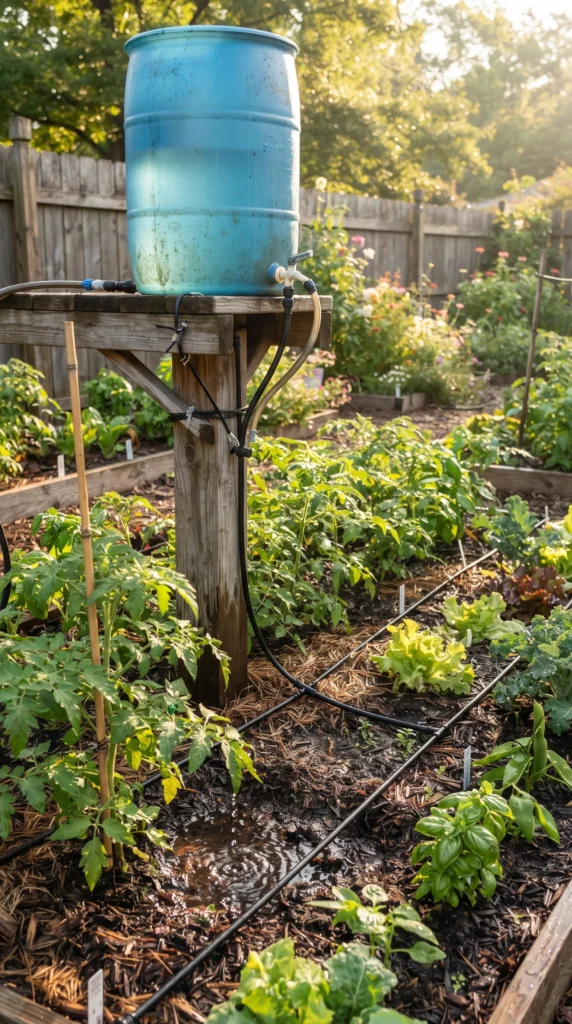
4. Gravity-Fed Drip System
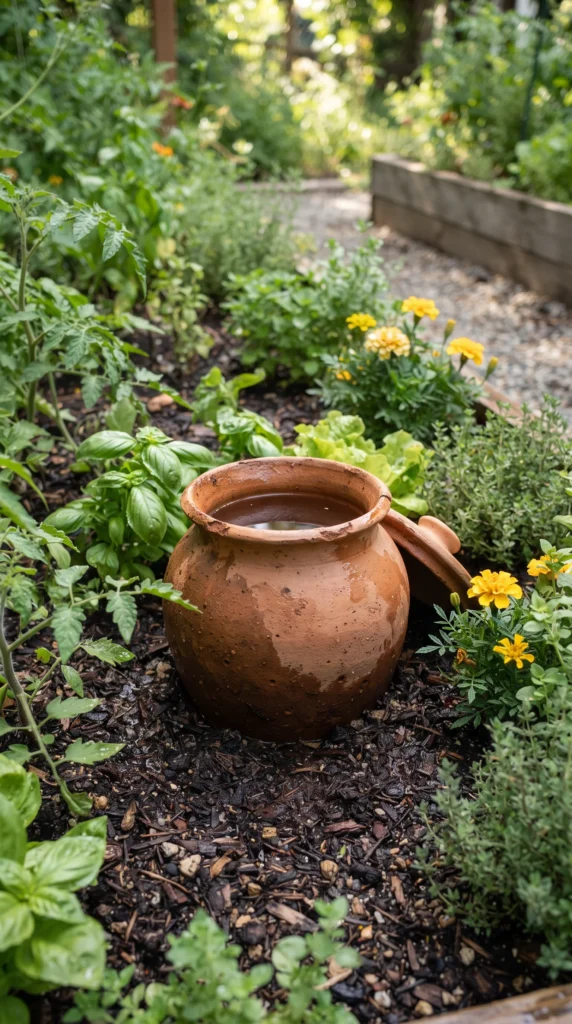
You can create a small gravity-fed drip irrigation system using an elevated water container.
The basic concept is simple:
Reservoir → Tubing → Drippers → Plants
Place a suitable water reservoir above the level of the plants.
Connect tubing from the reservoir and run it toward your containers or garden bed.
Gravity provides the pressure needed to move water through the tubing.
Important Tip
Gravity systems operate at relatively low pressure, so choose components designed to work with low-pressure systems.
Test the flow before connecting your entire garden.
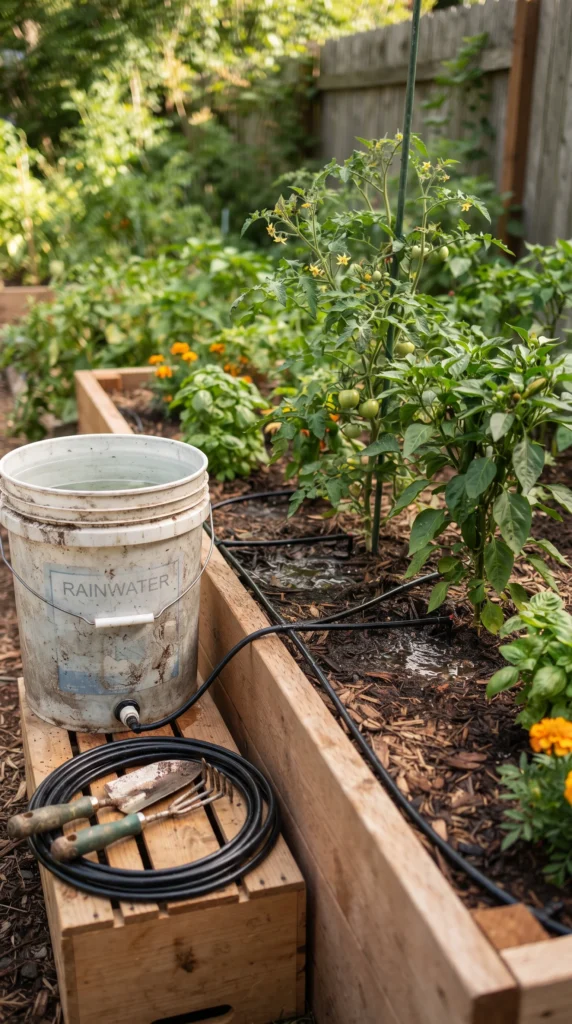
5. Raised-Bed Drip Irrigation
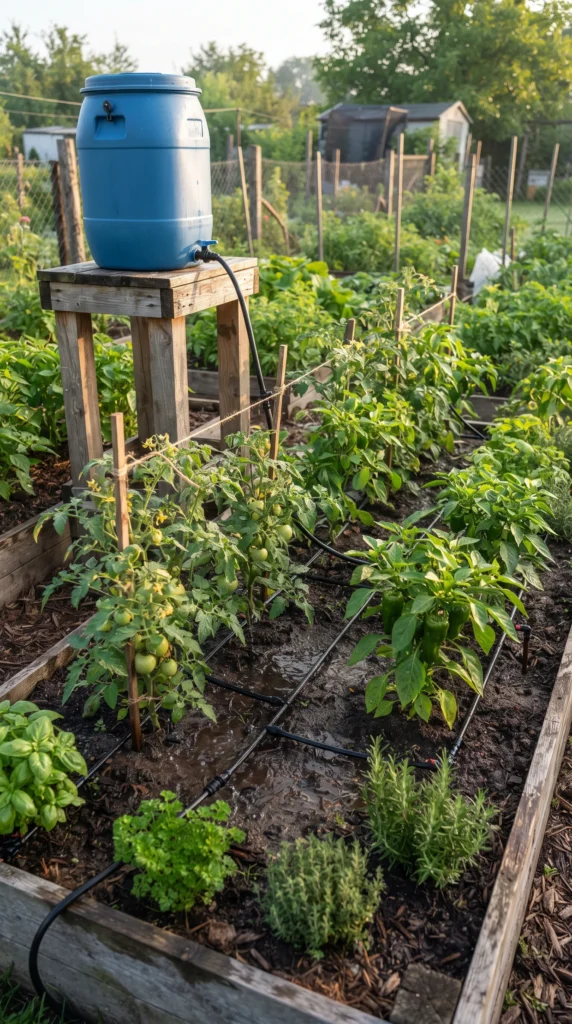
Raised beds are excellent candidates for drip irrigation.
Run a main supply line along the bed and attach smaller lines or emitters near plant rows.
For example:
Main line
↓ ↓ ↓
Drip lines
↓ ↓ ↓
Plants
This arrangement makes watering vegetables such as tomatoes, peppers, cucumbers, and lettuce much easier.
Secure tubing so it doesn’t move when you walk around the bed.
6. Container Garden Drip System
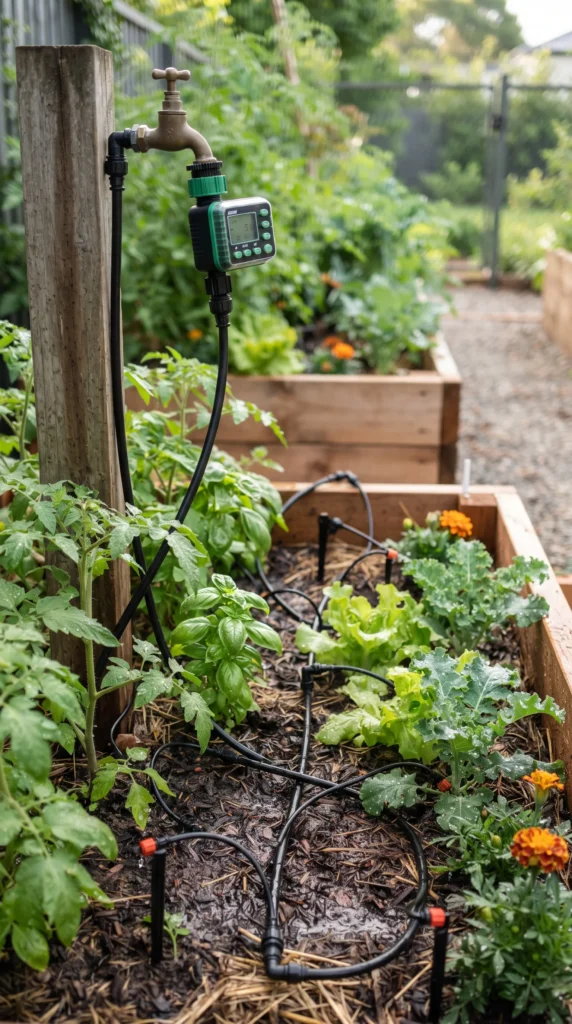
If you grow plants on a patio or balcony, you can create a compact container irrigation system.
Run a main tube along your containers.
Attach small distribution tubes to individual pots.
Place one or more emitters near the base of each plant.
This can save considerable time if you have many containers.
Ideal Plants
A container drip system can work well for:
- Tomatoes
- Peppers
- Herbs
- Strawberries
- Flowers
- Small fruit plants
Always check that the containers have adequate drainage.
7. Hose-Timer Drip System
If you want more automation, add a timer.
The basic arrangement is:
Outdoor faucet → Timer → Filter/pressure control → Main tubing → Emitters
The timer allows you to schedule watering automatically.
This is particularly useful during hot weather or when you’re away from home.
However, automated watering still needs monitoring.
Check the system regularly for clogged emitters, leaks, damaged tubing, or changes in weather.
Don’t assume that a fixed watering schedule will work perfectly throughout the entire growing season.
8. PVC and Drip-Line Combination
For a more permanent DIY garden irrigation setup, you can combine rigid PVC piping with flexible drip tubing.
PVC can serve as the main distribution line, while drip tubing delivers water to individual rows.
This type of system is more involved than a bottle or soaker hose but can be useful for larger gardens.
You may need:
- PVC pipe
- Appropriate fittings
- Drip tubing
- Emitters
- Shutoff valves
- Filter
- Pressure regulator
- Timer
Follow the manufacturer’s specifications for your irrigation components.
How to Build a Basic Drip Irrigation System
If you’re completely new to drip irrigation, start small.
Step 1: Map Your Garden
Identify where each plant or planting row is located.
Step 2: Choose Your Water Source
Determine whether you’ll use a faucet, rainwater system, reservoir, or another appropriate source.
Step 3: Install the Main Line
Run your primary tubing from the water source toward the garden.
Step 4: Add Distribution Lines
Connect smaller tubing where needed.
Step 5: Position Emitters
Place emitters close to plant root zones.
Step 6: Test the System
Turn the water on and inspect every connection.
Look for:
- Leaks
- Blocked emitters
- Uneven flow
- Excessive water
- Dry areas
Step 7: Adjust the Schedule
Monitor soil moisture and plant health before deciding how frequently the system should run.
How Often Should Drip Irrigation Run?
There is no universal schedule.
Watering needs depend on:
- Plant type
- Soil type
- Temperature
- Rainfall
- Container size
- Plant maturity
- Sun exposure
- Wind
- Mulch
Instead of relying only on a timer, check the soil.
The goal is to maintain appropriate root-zone moisture without keeping the soil constantly saturated.
Tips for Saving Water
A properly designed drip system can help target water where plants need it, but installation quality matters.
Use Mulch
Organic mulch can reduce evaporation and help stabilize soil moisture.
Check for Leaks
Inspect connectors and tubing regularly.
Clean Emitters
Small emitters can become clogged.
Adjust for Rain
Reduce or skip irrigation when sufficient rainfall has occurred.
Water the Root Zone
Position emitters where plant roots can actually access the moisture.
Common Drip Irrigation Mistakes
Too Many Emitters
Adding more isn’t always better.
Incorrect Pressure
Some components require specific pressure ranges.
No Filter
Depending on your water source, debris can clog emitters.
Poor Placement
An emitter too far from the root zone may not provide effective watering.
Ignoring Drainage
Drip irrigation can still overwater plants if the soil drains poorly.
Never Checking the System
Even automated irrigation needs occasional inspection.
Is DIY Drip Irrigation Worth It?
For small gardens, absolutely.
A DIY drip irrigation system can reduce watering effort and help deliver moisture more consistently.
The simplest systems can be built with materials you already have, while larger systems can be expanded gradually.
Start with one garden bed or a few containers. Once you understand how water moves through the system, you can expand it.
Final Thoughts
These 8 simple drip irrigation systems offer options for almost every type of gardener.
A plastic bottle can help water a single container plant, while a timer-controlled tubing network can manage an entire vegetable garden.
The best system is the one that matches your garden’s size, water source, plant needs, and budget.
Start small, test the flow, monitor your soil, and make adjustments as needed. With a little planning, DIY drip irrigation can make watering easier while helping you deliver water more efficiently to the plants that need it.